

Most organizations focus on stopping phishing emails from reaching users. However, many do not realize that their email system may reveal useful information to an attacker when a suspicious email is blocked.
In Microsoft 365, a failed email usually generates a message such as “Postmaster Delivery Failure Notification” or “Delivery Status Notification (Failure).” These messages are helpful when a real email cannot be delivered, but they can also reveal too much information about an organization’s email security.
An attacker can use this information to learn which email security tools are in place, understand why their message was blocked, and slowly change future phishing emails until one gets through.
What Is an NDR?
A Non-Delivery Report (NDR), often called a “bounce message,” is an automatic email sent when a message cannot be delivered.
Typical reasons include:
- The recipient mailbox does not exist
- The mailbox is full
- The message was blocked by policy
- The sender failed SPF, DKIM, or DMARC checks
- The message contained suspicious content or an attachment
Microsoft Exchange often includes a section titled:
Diagnostic information for administrators
This section is meant to help IT teams understand why the email failed. Unfortunately, it can also help attackers learn how the organization protects its email system.
How Attackers Exploit NDRs
An attacker does not need access to a user mailbox to gather information.
Instead, they can:
- Send an email to a fake or non-existent address within the target organization
- Trigger an NDR response
- Review the returned diagnostic details and message headers
- Modify the next phishing attempt based on the information learned
Information Commonly Exposed
The default NDR may reveal:
- The email security products in use (e.g., Proofpoint, Mimecast, Cisco, Sophos, Microsoft Defender)
- Internal email routing paths and mail relay servers
- Spam scores assigned to the message
- Whether SPF, DKIM, or DMARC failed
- Which attachment types are blocked
- Which URLs or keywords triggered filtering
- The name of the transport rule or filtering policy that blocked the message
- Internal mail headers added by security tools
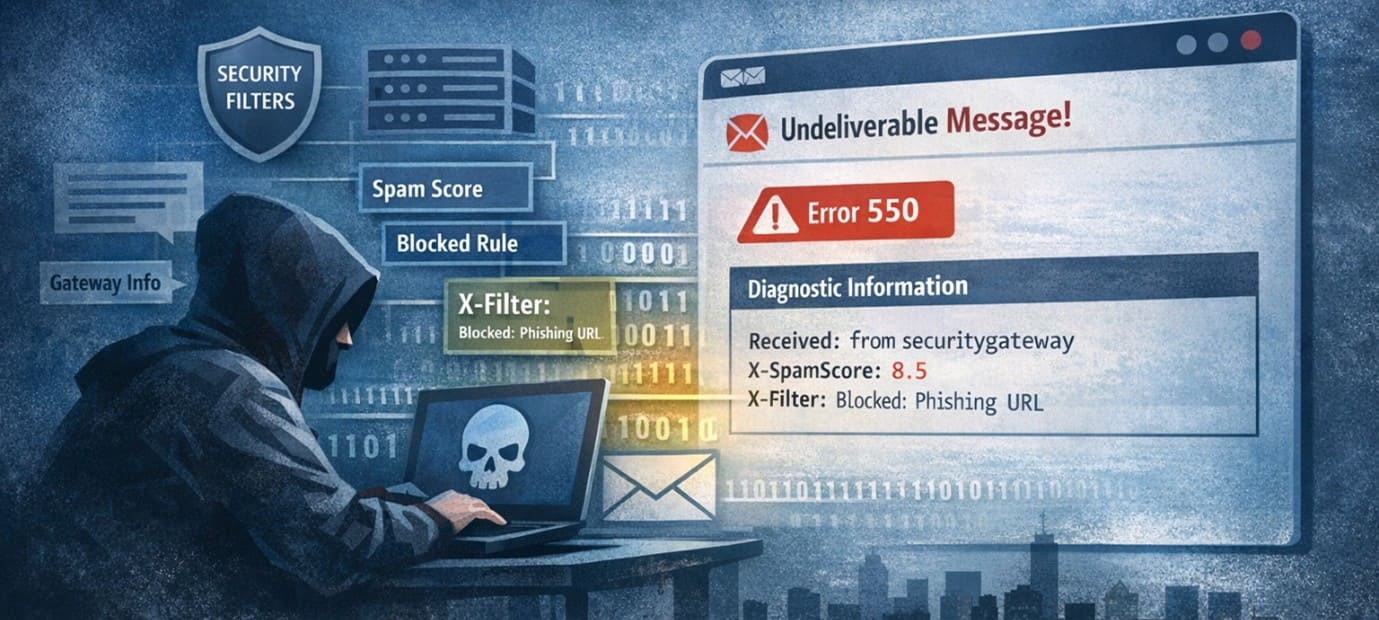
Examples of information commonly seen in NDRs include:
- 550 5.7.26 – SPF or DKIM validation failed
- 550 5.7.1 – Message blocked by policy or transport rule
- X-Forefront-Antispam-Report
- X-MS-Exchange-Organization-*
- Product-specific headers such as X-Proofpoint-* or X-Mimecast-*
These details may seem harmless, but they tell an attacker exactly which security tools and rules they need to avoid.
Why This Matters for Spear Phishing
Most phishing attacks are tested several times before they are finally sent to real users.
Attackers often perform multiple rounds of testing before launching a campaign:
- Send a test message
- Review the NDR or rejection details
- Change the domain, sender, wording, attachment, or URL
- Repeat until the message is accepted
For example:
- If the NDR shows that macro-enabled Word documents are blocked, the attacker may switch to a PDF with a malicious link.
- If a keyword increased the spam score, the attacker may rewrite the message.
Over time, the attacker gains a clearer understanding of the organization’s filtering thresholds and security controls. This turns the NDR into a reconnaissance tool.
Even if the original phishing attempt fails, the attacker learns how to improve the next one.
How Organizations Can Reduce the Risk
Organizations should review the information returned in their external NDR messages and reduce unnecessary detail.
Recommended actions include:
- Suppress Detailed Diagnostics for External Senders
Avoid sending the full “Diagnostic information for administrators” section to external email addresses.
Instead, return a generic message such as:
“Your message could not be delivered. Please contact the recipient organization’s administrator.”
- Remove Internal Mail Headers
Prevent internal routing headers and security product headers from being included in NDR responses.
Examples include:
- X-MS-Exchange-*
- X-Forefront-*
- Third-party security headers
- Use Generic Rejection Messages
Do not disclose:
- Which rule blocked the message
- Which attachment or URL caused the rejection
- Whether SPF, DKIM, or DMARC specifically failed
Generic wording makes it more difficult for attackers to refine their approach.
- Test Your Own Environment
Organizations should periodically test what information is exposed externally.
A simple approach is to:
- Send an email from an external account to a non-existent internal mailbox
- Review the NDR received
- Identify any internal headers, product names, spam scores, or policy details
- Remove or suppress those details where possible
- Monitor for Repeated Failed Deliveries
Repeated messages to invalid mailboxes may indicate that an attacker is conducting reconnaissance.
Security teams should monitor for:
- Multiple NDRs from the same sender or IP address
- Repeated attempts using slightly different attachments or content
Patterns that suggest testing of email controls
Conclusion
Non-Delivery Reports are intended to help administrators solve email delivery problems. However, in many Microsoft 365 and Exchange environments, they provide far more information than necessary.
Organizations should review their current NDR configuration and ensure that external senders receive only the minimum information required. Reducing this exposure is a simple but effective way to make phishing campaigns more difficult to execute.
In email security, every unnecessary detail matters. What seems like a harmless troubleshooting message may be giving attackers exactly what they need.


